
Designing my pedagogical framework
Like a conductor composing a symphony, an instructional designer crafts a fluid and harmonious learning sequence. In this article, we dive into the art of building a well-orchestrated course outline — exploring how each element fits together with precision to create a captivating learning experience.
Adding source documents to generate my course outline
Once the scoping phase is complete, move on to building your course outline.
From the "Sources" tab, you can upload documents to allow our AI to draw on these resources when generating your outline. The AI will automatically summarize them and extract the key concepts.
Starting my course outline
You can:
- Iterate with the outline agent to build your course structure your way.
- Add sequences manually.
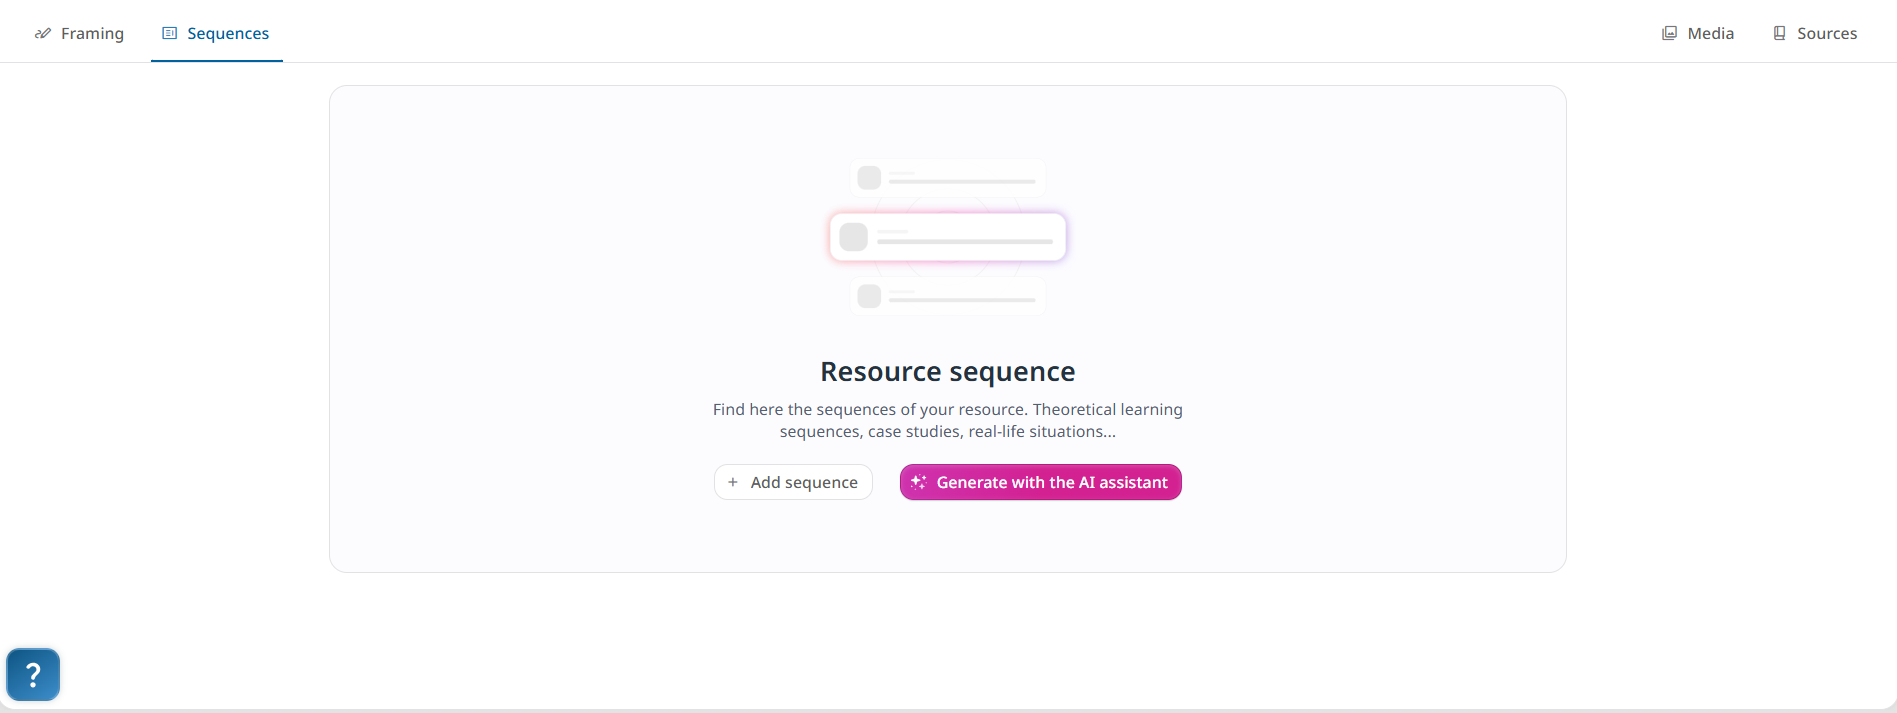
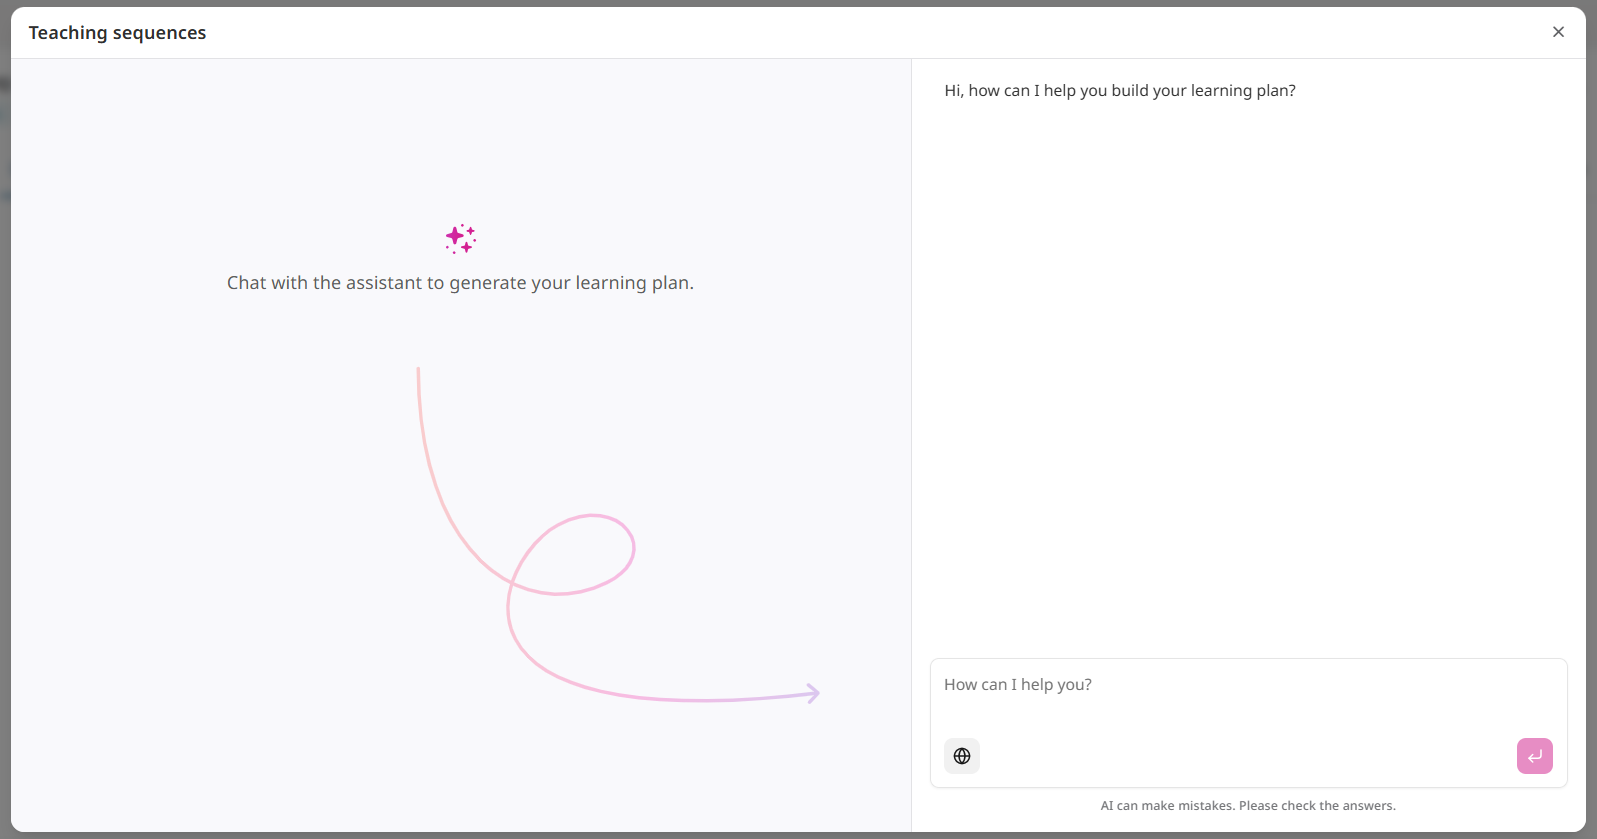
Generating my sequences with the scoping assistant
Use the scoping agent to refine your outline. This is where you can define what shapes the learning experience: a through-line connecting all sequences, a progression from simple to complex, or a hands-on approach built around real-life scenarios rather than purely theoretical content.
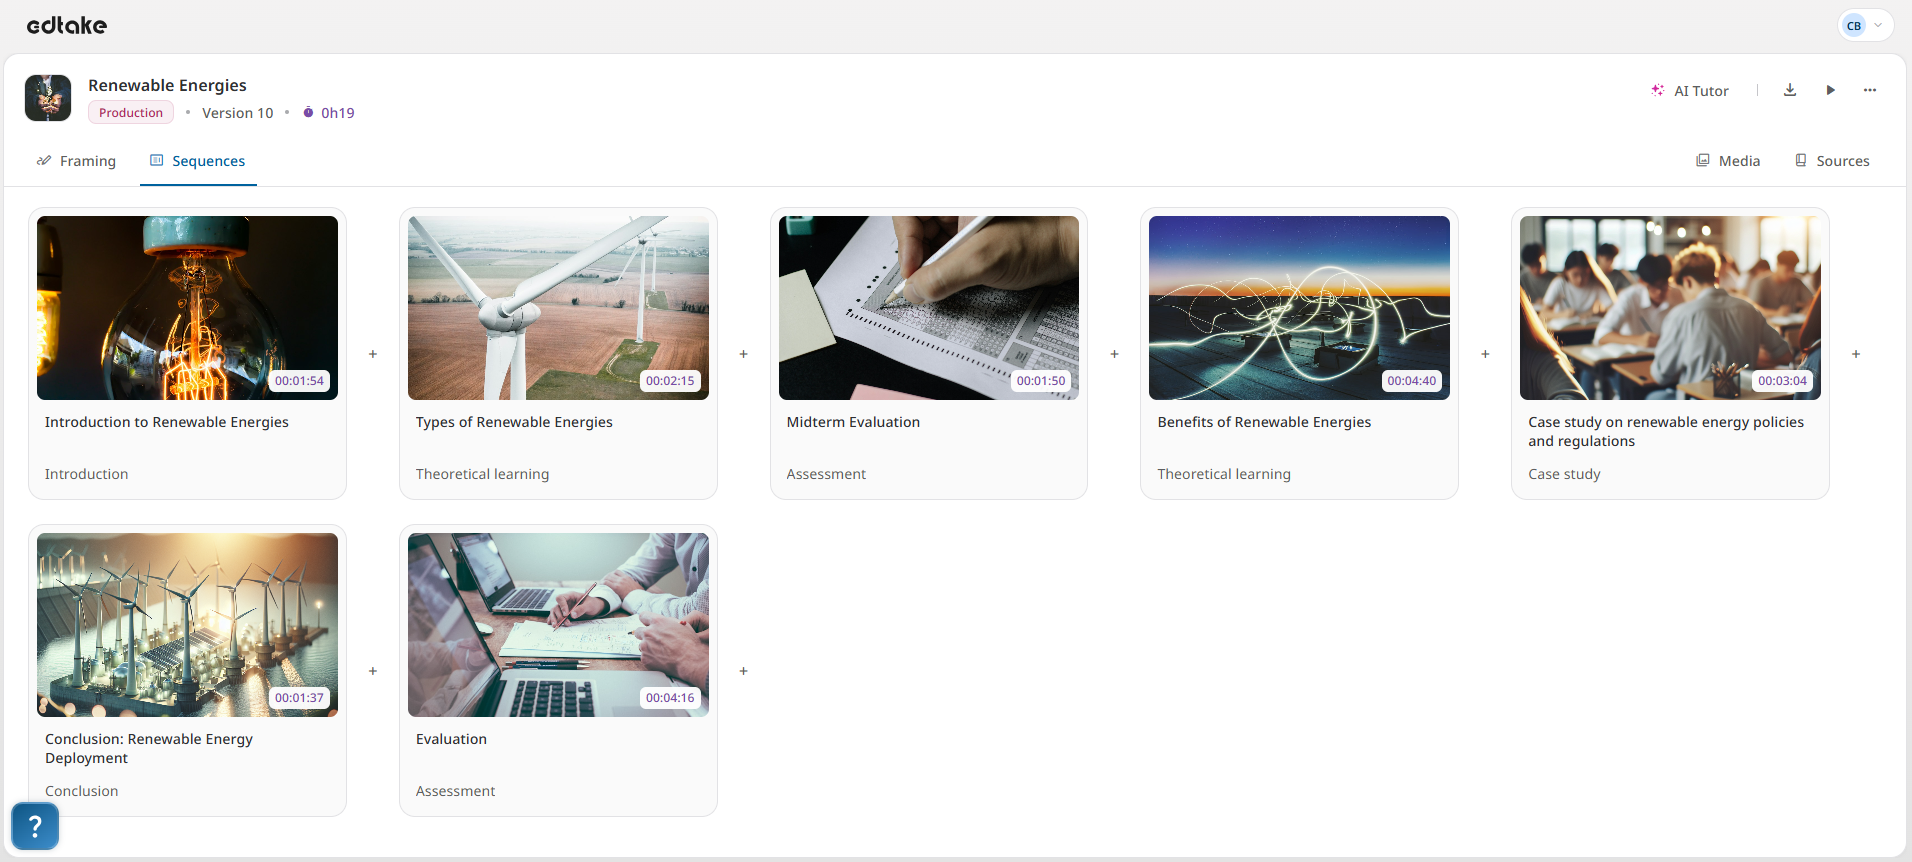
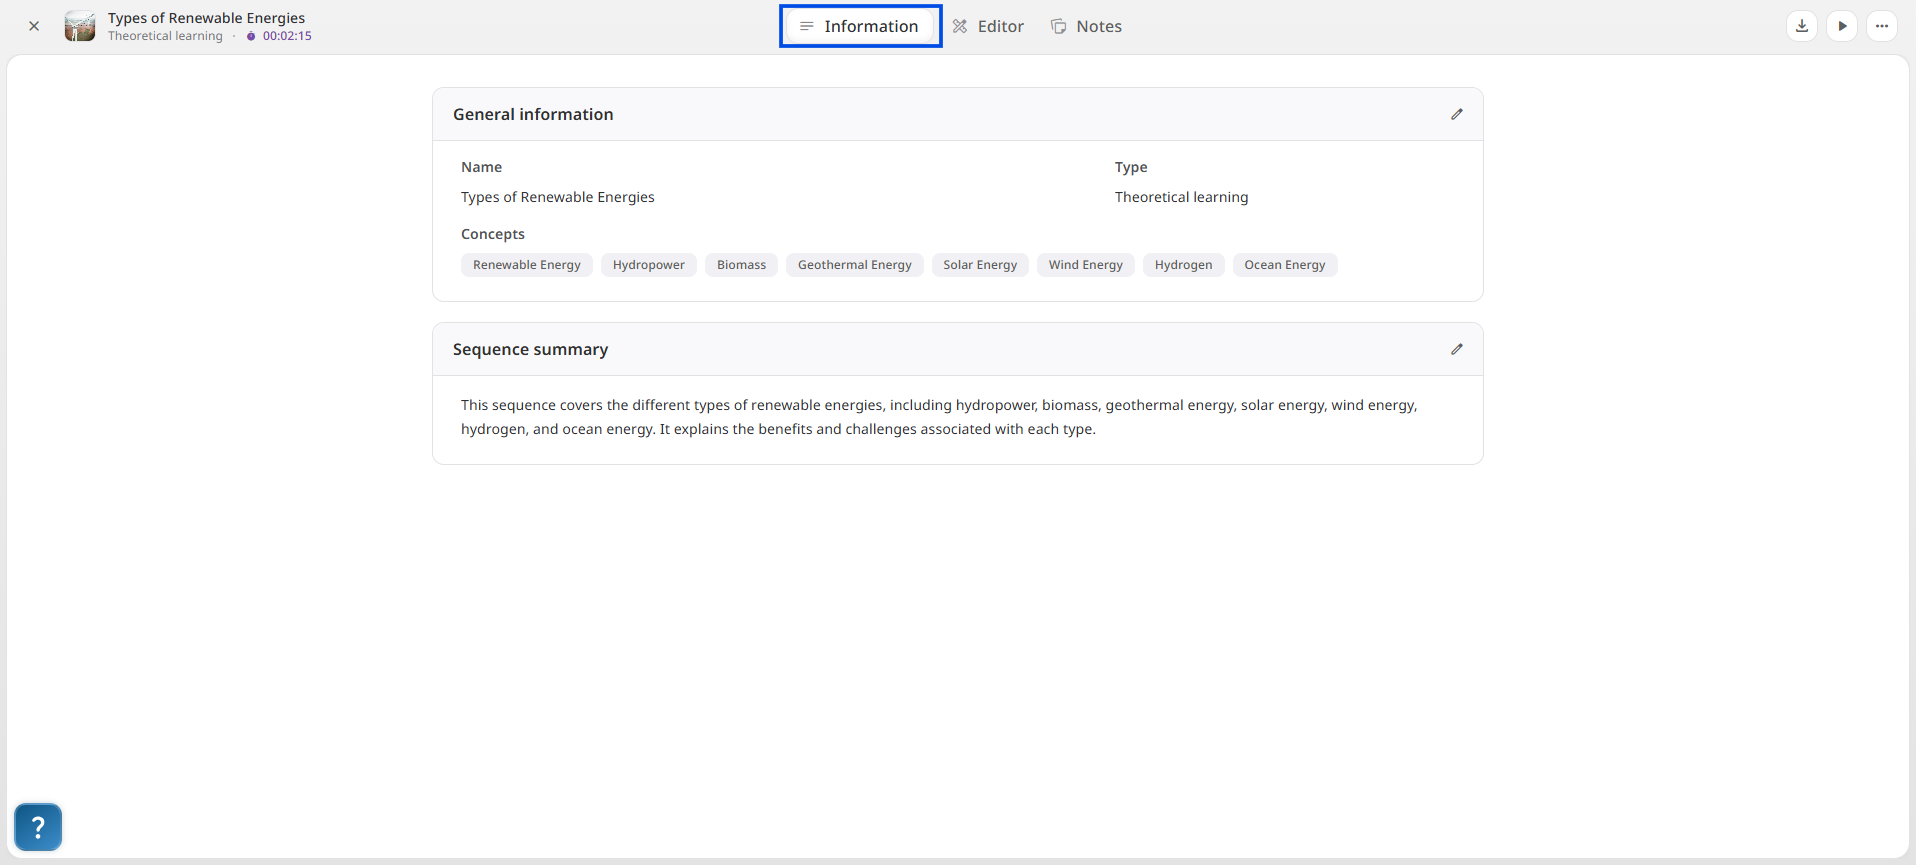
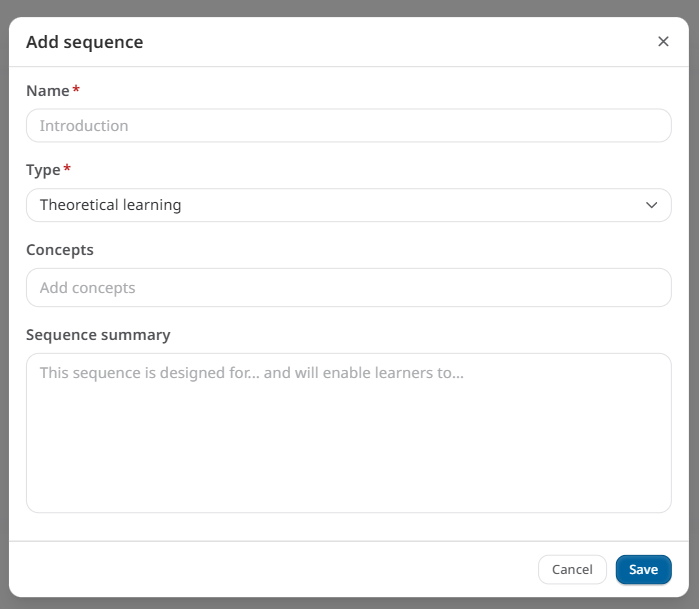
A series of sequences will be automatically created, each including a name, a type, a summary, and concepts. You can customize them one by one by clicking on a sequence, going to the "Information" tab, and clicking the pencil icon.
Adding a sequence manually
You can add a sequence without AI assistance. To do so, click "+ Add" and fill in the required fields. Concepts are optional, but they help highlight key notions within your sequence content.
Good to know
- Concepts allow you to precisely target the key notions to be covered in a sequence. If you have restricted the AI to your source documents, make sure the concepts you enter are actually present in those sources.
- The sequence type you choose will define its structure. For example, a "case study" sequence is made up of 4 parts: a brief, an analysis phase, a diagnosis phase, and a solution.